Malaysian Wedding Planning Timeline: A 12-Month Checklist
From booking the venue to the final week, a practical month-by-month checklist for planning a Malaysian wedding without the last-minute panic.
3 min read

Planning a Malaysian wedding often means two or three events in one: the akad nikah, the reception on the bride's side and sometimes a second reception on the groom's side. Add family expectations, vendor bookings and paperwork, and it is easy to feel overwhelmed.
This 12-month timeline breaks it into manageable steps. If you have less time, simply start where you are and catch up on the earlier items first.
12 to 9 months before
- Agree on the budget with both families, including who pays for what.
- Set the date for the nikah and reception. Popular dates during school holidays book up fast.
- Book the venue: hall, hotel, garden or your family home.
- Shortlist key vendors: caterer, photographer, videographer and pelamin decorator.
- Draft the guest list. Malaysian weddings grow quickly, so start with a realistic number.
9 to 6 months before
- Book the caterer and photographer once you have tasted the food and seen full wedding galleries.
- Choose your outfits for each event. Custom baju Melayu, songket or gowns need time.
- Attend the marriage course (kursus praperkahwinan) if you have not already. Certificates are needed for the application.
- Start the marriage application with your state religious office, including HIV screening if required.
6 to 3 months before
- Confirm the theme and colours with your decorator.
- Design and order invitations, whether printed cards, digital cards or both.
- Book make-up, kompang, emcee and entertainment.
- Plan the doorgifts and order them early, especially if they are customised.
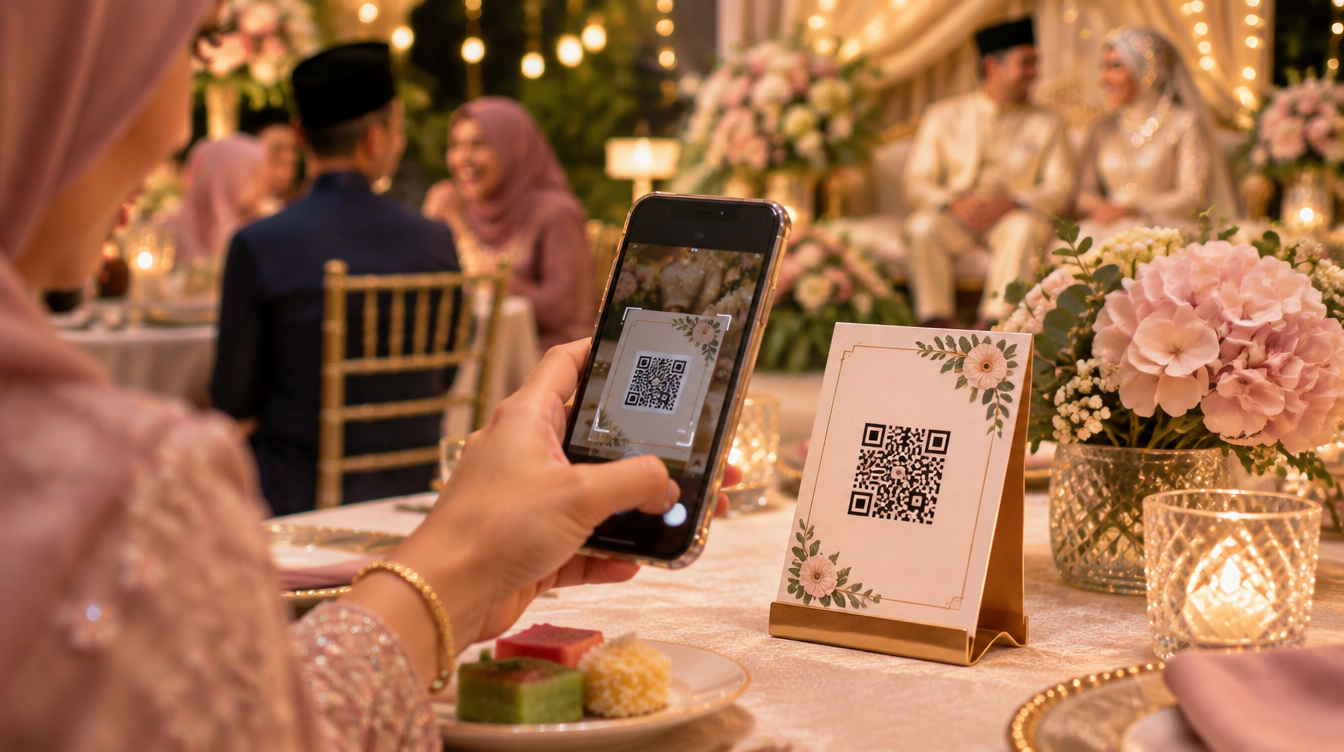
- Decide how you will collect guest photos. Set up a QR photo gallery now so the code can go on your table cards and signage.
3 to 1 months before
- Send invitations and track RSVPs.
- Final outfit fittings.
- Prepare the hantaran and arrange who will decorate the trays.
- Confirm the running order of the day with the emcee and family.
- Print table cards and signage, including your photo-sharing QR code.
The final two weeks
- Confirm final numbers with the caterer.
- Share the timeline with vendors and your helpers.
- Pack an emergency kit: pins, safety pins, tissues, power bank, plasters and snacks.
- Assign a family point person for vendor questions on the day, so you can stay with your guests.
- Test the slideshow on the venue TV or projector if you are showing guest photos live.
After the wedding
- Download all guest photos and videos before your gallery closes.
- Back up everything in at least two places.
- Send thank-you messages to family, helpers and vendors.
- Leave reviews for the vendors who made your day special.
Do not forget the guest photos
Your photographer captures the key moments, but your guests capture the rest. With Snip by Pelamiin, guests scan a QR code on the table and share photos, videos and wishes straight into one private gallery. No app and no WhatsApp chasing afterwards.
Save this checklist, share it with your partner and tick it off one month at a time. Selamat pengantin baru!